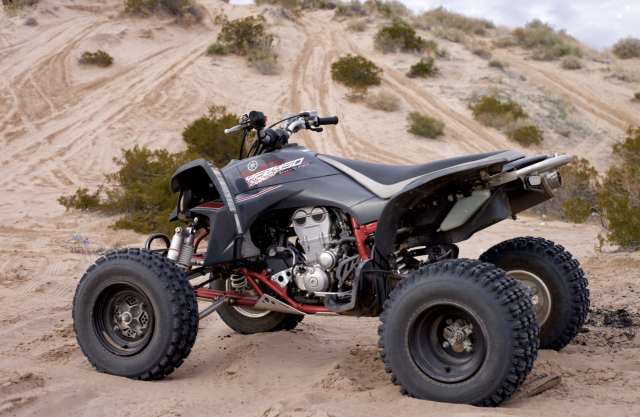
Once a person realizes their dream of owning an ATV, they must decide if they want to leave it as it comes from the factory or jazz it up a little to make it personal. Adding decals is one way to personalize an ATV. In addition, adding decals might make it harder for someone to steal the ATV and sell it. If an ATV is stolen, customization makes it easier for the real owner to claim the ATV when it is found.
Purchasing the Best Decals
Contents [show]
When purchasing decals for an ATV, be sure to purchase high-quality graphics that will not only look good but last as long as the ATV. ATV owners can choose to purchase decals from a retailer that offers installation for a price, or they can choose a good online supplier, install the graphics themselves, and save money. It is a two-edged sword with graphics. The graphics are only as good as the installation, but no matter how good the installation might be, poor-quality graphics will not last.
Types of Decals
There are several different types of decals to consider for that new ATV.
- Informational decals from the manufacturer are helpful to keep, especially when they have operational and safety instructions.
- Then there are the fun decals intended to help ATV owners personalize their machines. This is where the flame, sports team, and rock band designs come in.
- Other ATV decals are used to identify the person or company name. This can include a park name, a ranch name, police, fire, or safety symbols, or even construction company identification. These decals are identifying the ATV for a specific use.
Install Them Correctly
It is important to buy top-quality graphics and then have them installed properly. The installation will require a heat gun or hair dryer, a spray bottle, a dry, no-lint towel, a rubber squeegee, warm water, and dish soap. Graphics often come in multiple parts and the same procedure must be used separately for each piece.
- Clean and prepare the ATV. This can include filling and sanding scratches or dents, removing old decals and adhesives, and securing a heated or cooled place to work. Gather all the needed equipment.
- Take out the graphics and sort them out to make sure the set is complete and in the order the components need to be installed. Make sure you know where each piece goes and each area is ready.
- Test the graphic parts to make sure they fit where they are to go. Prep each area by removing old adhesive with solvent and a rag.
- Prepare each surface right before adding the graphic by degreasing it with clean, paper towels that leave no lint or residue.
- Now comes the difficult part of installing the graphics. Start by adhering it to one corner and slowly removing the backing as you lay down the graphic. You may need a heat gun or hair dryer for difficult curves. Proceed with caution to avoid overheating and damaging the graphic.
- Carefully work out all air bubbles or wrinkles by rubbing down or squeegeeing the entire graphic. Any protruding edges must be carefully trimmed back with a sharp blade. No edges must be exposed to air and moisture. All edges must be firmly adhered.
A quality, properly installed graphic will probably last longer than any original graphics.


