
Have you ever taken pictures of your friends or family members, and seen a strange red glow on all the eyes in the picture? This does not result from a camera defect or a problem with your photography skills. There’s a scientific reason behind this, which we’ll explain later.
Irrespective of the reason, the “red-eye” effect can ruin your portraits. But don’t worry—there’s a simple solution that can help you fix this problem and take flawless photos every time.
In this blog post, we’ll explain what causes this weird red-eye effect in your portrait clicks and show you simple steps to get rid of it. However, sometimes, you need to be careful while removing the red-eye effect in photos as it may lead to image corruption. Luckily, we also have a photo repair software that can help fix corrupt JPEG images.
So, let’s discuss:
- Why does the red-eye effect occur while clicking photos?
- Quick in-camera settings to prevent the red-eye effect.
- Easy photo editing hacks to remove red-eye from images.
- How to deal with corrupted or damaged photos during red-eye effect removal?
Why does the Red Eye effect occur while clicking photos?
Contents
Have you ever tried to watch a dog, cat, cow, or any other animal at night under a flashlight? You must have seen their eyes flashing in the dark. All animals have a special reflective layer behind their retina that reflects light.
So, if you flash your headlight or a flashlight at them at night or in dark spaces, the light hits this reflective layer and bounces back, making their eyes appear to glow.
The same phenomenon happens when you photograph a person using a camera flash at night or in low-light conditions. The camera’s flash emits a bright light that enters the person’s eyes. This light then reflects from the back of the retina, giving the eyes a red or orange glow in the photograph.
The red-eye effect is common in people with lighter-colored eyes, especially children. Hence to avoid this red-eye effect in photos, you need to take care of the background lighting and a few other parameters. Let’s discuss what you must do to avoid it.
Ways to avoid the Red Eye effect in Photos
As a photographer, there are a few simple precautions you can take to avoid the dreaded red-eye effect in your photos:
Use your Camera’s Red-Eye removal Mode
Modern digital cameras have a built-in red-eye reduction feature that helps control the red-eye effect in photos taken in dark or low light conditions. The camera throws small flashes many times before the main flash, reducing the amount of light that enters a person’s eyes. Hence, the light does not enter the eyes and is not reflected to form the red-eye effect. Always remember to turn on this setting while clicking portraits in low light.
Position the Flash Away from the Lens
The red-eye effect occurs when the camera’s flash is positioned too close to the subject. To avoid this, try to set the flash a little far from the subject. You can either use an external flash unit or create an angle with the built-in flash in a way that it does not throw light directly on the subject face.
Use Natural Lighting Whenever Possible
Natural lighting is the best way to avoid red-eye. But it becomes a challenge during the night. In such scenarios, you can use other available lighting that helps your camera to identify your subject properly. You can position your subjects near a window or use available indoor lighting to illuminate them. You can try using a soft lighting setup and avoid the hard flash that causes the red-eye effect in photos.
Avoid Shooting in low-light conditions
Red-eye mostly occurs when you’re taking photos in dim light or dark environments. In such environments, a human’s pupils will remain widened, just like a camera lens, which needs a bigger lens opening to allow more light to pass through to identify the subjects. Hence, this will allow more hard flashlight to enter and reflect off the back of their eyes. So, you must always shoot in well-lit areas or use additional lighting sources to avoid this problem.
Following these simple tips, you can easily avoid the red-eye effect and capture stunning, natural-looking portraits every time.
How to fix the Red-Eye effect?
While the built-in red-eye removal tools on your camera or smartphone are effective in avoiding the red-eye effect, certain cameras & smartphones do not have this capability. In such a case, you can try other methods to fix it.
If you have a digital photo with a red-eye effect, you can try using some dedicated photo editing software that comes with advanced red-eye correction features. Both Adobe Photoshop and Lightroom have a red-eye removal tool that allows you to select and fix the affected areas of your image. You can easily adjust various parameters for the correction, as well as the opacity.
Another great free and open-source image editing tool is GIMP. This tool also includes a red eye removal tool that works similarly to Photoshop and helps you carefully correct the red eye issue by adjusting and controlling the parameters.
How do you fix an image that got corrupted while fixing the red-eye effect?
The red-eye effect is a common issue that occurs when your camera flash reflects off the blood vessels in the subject’s eyes. Hence, to remove it, you sometimes need to use a photo editing software, but this can also accidentally corrupt your precious image file.
That’s where you need Stellar Repair for Photo. This JPEG repair software can quickly and easily repair all kinds of image corruption, including a corrupted header, invalid file structure, or missing data from the file. Stellar Repair for Photo supports a wide range of image file formats and can fix any photo clicked from your DSLR, smartphone, or any other type of camera.
Here’s a step-by-step guide to using the photo repair software:
1. Download and install Stellar Repair for Photo on your pc.
2. Open the software, then click “Add File” to choose and upload the corrupted image you want to repair.

3. Now click “Repair” and the software will analyze the file and start fixing it.
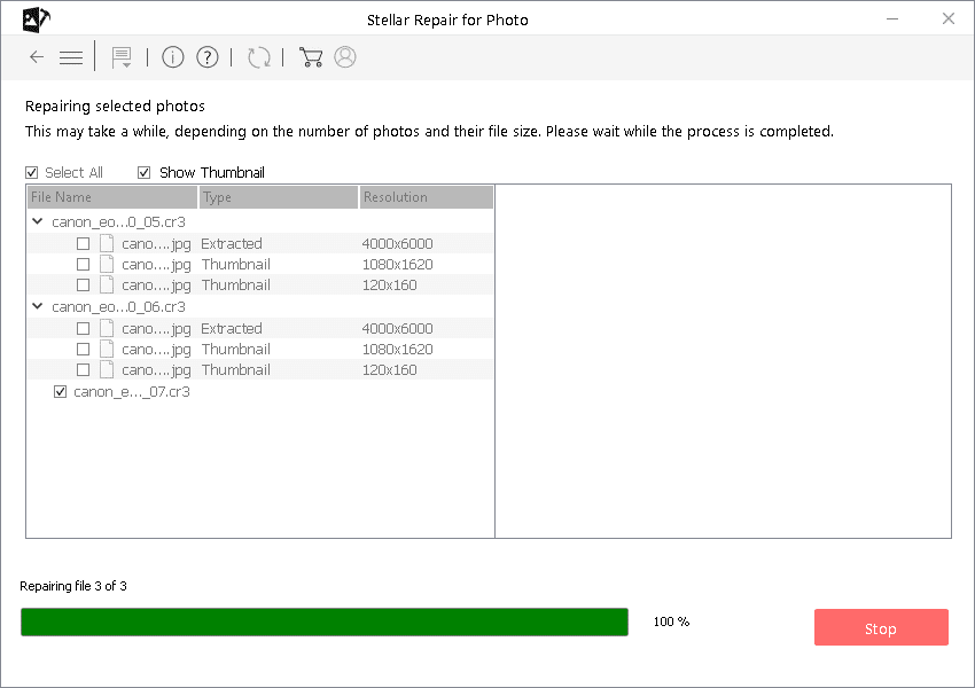
4. Once the repair is complete, you can also preview the image.
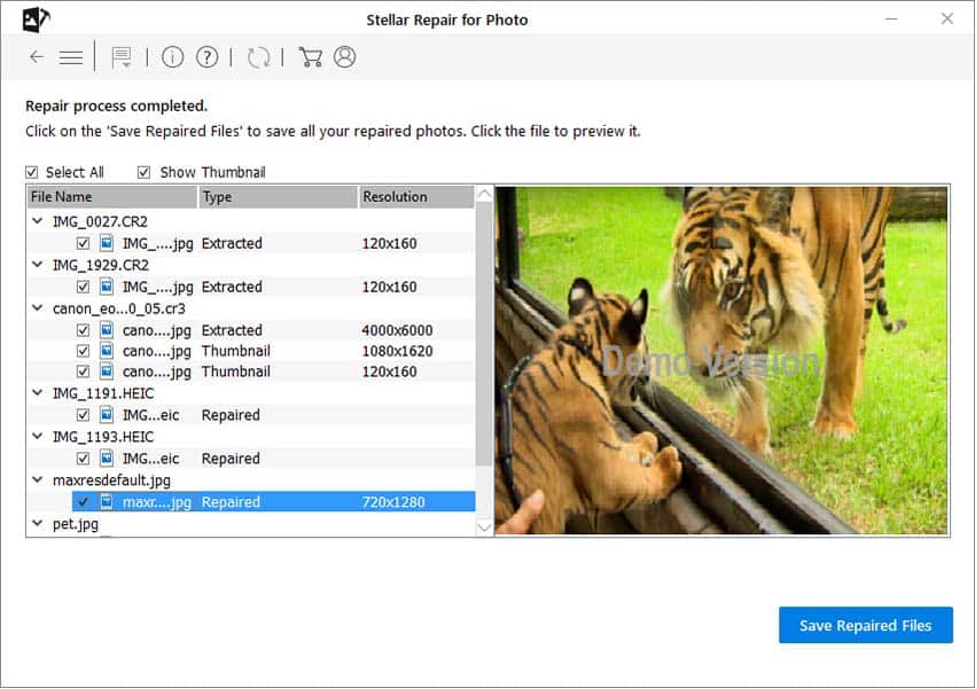
5. Once you are satisfied with the result, click on “Save Repaired File” to save it to a desired location on your computer.
So if your image gets corrupted while trying to fix the red-eye effect, get the Stellar Repair for Photo software, and you’ll be able to restore your photos to their previous uncorrupted state.
EndNote:
From the built-in camera feature to using proper lighting conditions and avoiding hard flashes on subjects, we’ve discussed the ways to avoid and fix the common issue of red eye in photos. While a photo editing software can easily fix it, it can accidentally corrupt your photo file if not handled or properly controlled. Hence, you must take the necessary steps to avoid the red-eye effect from happening in photos.