Utilising Zip files or compression on our Macs, generally helps save storage space. However, compression isn’t enough as in some cases, there may be sensitive data in those folders that we would like to protect from prying eyes, if you are say using a usb c dock, to transfer files or multiple Macs or PCs. Moreover, this is especially crucial if you’re sending the file out online where it could be intercepted by someone it isn’t intended for.[macbook pro 16 leather sleeve]
So, we decided to put together a quick guide on how you can password protect your compressed files as well as easily access and edit your encrypted files, without compromising compression in the process.
Encrypting a ZIP file using the Terminal Program
Contents
Contrary to how it may sound, file compression using this method is actually pretty easy. It may take some special commands to do so, but it’s actually the most direct way to secure your files and folders, so let’s dive straight into how you can get it done.
Step 1: Open the Terminal program on your MacBook.
Step 2: Type in ‘cd’, then add on the file’s location eg. if the zipped file is in your desktop, type in “cd desktop”.
Step 3: Press enter
Step 4: Type in ‘zip -e ‘filename’.zip. (replace filename with your file’s name)
Step 5: Press enter
Step 6: Assign and verify your encrypted file’s passcode.
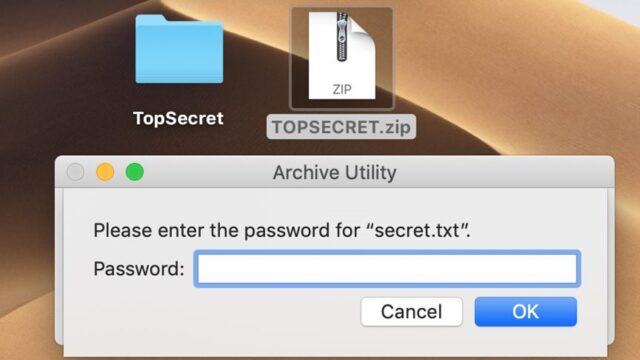
It’s really that simple! After this, you should see your encrypted file on your desktop which if you double-click, should prompt you with a password request, so ensure that you have the passcode in mind or saved somewhere secure.
What Other Methods Can I Use?
If you are still finding the terminal method a bit intimidating or it’s just not working for you, not to worry. Besides, while it is a quick way to do it, it isn’t very helpful if you need to compress several files or folders. One false keystroke or error, renders the entire process null and void and you’ll have to start over. This is where using a third party app like BetterZip pays off.
It offers Mac users a simple interface that allows you to find the relevant files and folders quickly, then goes on to compress and encrypt them almost instantly. Users can also add as many files to an archive as necessary, as well as select where they want to save their compressed archive file. With compression formats like ZIP, RAR, 7-ZIP as well as ISO available, it automatically secures your files and also has a password generator, as well as password manager to help edit and save your passwords for you.
So, when you try to open a secured password, unlike if you had used the Terminal method, there’s no need to remember passwords or deal with other third party password managers, as the app will try to use the saved passwords in it’s cache. However, what really makes this app is special is that it allows you to search within archives as well as edit your files within the compressed archive. So, if you made any changes, the app provides you the option to update your the compressed folder/archive.
Another app alternative that’s even easier to use is, Archiver. It essentially offers a unique drag and drop process that lets any Mac user easily click on a button and just input a password to make a zipped archive folder. It also allows you to compress several files/folders individually in a batch process.
Here’s are the easy steps to using Archiver:
Open Archiver on your Mac
Drag the file you want to zip into the app
Select “Archive” at the bottom of the window
Select the type of zipped file you’d like to create
Click ‘encrypt’ if you want to password protect the file.
Insert your selected password
Click ‘Archive’
It’s that simple.
Opening a password-encrypted file
There are many ways to open an encrypted file and if you have the passcode ready, you simply just need to double-click the file and input it to unlock and uncompress the file.
Another method to accomplish this, involves using the Terminal.
Step 1: Open the Terminal.
Step 2: Use the ‘cd’ command to change the directory to where the zip file is stored.
Step 3: Enter this command: unzip [filename]. (replace filename with your file’s name). e.g. if the file is called ‘lention.zip’, input that.
Step 4: Press enter
Keep in mind that using either of these methods, compromises your files compression as the zipped file ends up unzipped. However, using an app like BetterZip, you can preview and/or edit your files without affecting the file’s compression.
Conclusion
Learning how to properly zip and secure your files and folders on your Mac is extremely important. It helps secure important files, minimise file storage usage and is an excellent way to transfer heavy files across multiple devices if you are using a usb c hub, for example. For those who are constantly using compressed files on the daily and need different formats to choose from, we suggest an app like BetterZip, but for ease of use and simplicity, Archiver is a better choice. After all, compared to using the Terminal which can be tricky and unnecessarily complex, it’s just easier to let a program handle all the work instead.


